
Basic Tips to Photograph the Northern Lights
When we booked our trip to Norway to see the Northern Lights, I knew I had to learn how to capture this incredible phenomenon. Up to this point, I’d always used an iPhone or GoPro to document our travels. Everything I kept reading said that to photograph the Northern Lights would be much more complicated than simply snapping a pic on my phone.
I spent a lot of time learning, researching, and taking notes about the best ways to take photos of the Aurora Borealis in order to avoid getting myself into a situation where I would miss the lights because I was too busy trying to fiddle with the settings on the camera. Therefore, I made it my mission to do everything I could to be able to successively photograph the northern lights. No way I was going to let this once-in-a-lifetime sighting be just a moment that eventually fades from my memory.
After lots of research, it was clear that many people advised starting with a professional camera and tripod. My husband surprised me with the Sony a6000 camera for Christmas. The Sony a6000 is a mirrorless digital camera. In layman’s terms, it means it has all the functions of a high-tech DSLR camera but is lighter, more compact, and faster. It’s even small enough to fit in a backpack or carry around your neck while hiking. It came with all the equipment, including an extra lens, a memory card, and an instructional DVD. I learned all about shooting modes, shutter speed, aperture, ISO, exposure, and more.
Why is all of this important? Well, you simply won’t be able to photograph the Northern Lights on your iPhone (unless you have the newest version with a high-tech camera) and certainly not in automatic shooting mode on an average camera. The simple explanation is that the iPhone lacks enough shutter speed capabilities. With all the new technology, there’s probably an app for that, but let’s just stick to the safe side and learn a few actual photography skills.
So, let’s get to all the basic things you need to know about your camera and photographing those once-in-a-lifetime moments!
Table of Contents
Camera Adjustments
First up are the three most important parts of your camera – aperture, ISO, and shutter speed. There is significant importance in the relationship between these three pieces. They work together simultaneously to help snapshot your digital image, whether it’s outdoors in the sunshine, indoors, or outdoors at night. Having the correct balance among these settings is crucial. An example of my settings for nighttime photography was an aperture of f/3.5, ISO 1600, and a 13-second shutter speed.
Aperture
Aperture is how much light your camera lets in. The lower the f-stop, the more light it lets in. The higher the f-stop, the darker your image will be. It also changes the depth of field in a scene. The lowest that my lens can go is f/3.5 My best images were either f/3.5 or f/4.0.
ISO
ISO is the digital “noise” of your image. The higher your ISO number, the more sensitive to light your camera lens will be. To photograph the northern lights, your ISO setting will need to be much higher than normal, but not so high that you begin to lose quality and gain background noise. The ISO on my camera has a potential range of 100 to 25,600. This is something with which you will need to experiment. My best photos were taken with a variety of ISO’s: anywhere from 1250-3200 ISO. You must find what works best with the lighting and darkness of the sky. A normal everyday guide for ISO settings would be:
- Outdoors in full sun: 100-200 ISO
- Outdoors in shade or overcast: 400+ ISO
- Indoor action shots & low lights: 800+ ISO
Shutter Speed
Shutter speed is how long the shutter of your camera is open. Fiddle around with your settings on this one also. I used anywhere from 10-25 seconds, with my best photos taken at 25 seconds.
RAW vs. JPEG – Image File Types
A RAW image is a much bigger file, but it allows for broader tones and you have the ability to edit more extensively. Although these images have to be processed, a program like Lightroom makes that easy. Processing a photograph taken on the RAW setting simply means you have to import the file as RAW, edit it, and then export it as a JPEG.
JPEG files, on the other hand, allow fewer tweaks after taking the photo. They are also smaller, compressed files.
Time Lapse
If you really want to go above and beyond, learn how to take a time-lapse of the Northern Lights. I am incredibly glad that I did because some of my best recordings came out of this process. In essence, it’s a still photograph and a narrative motion short. The neat thing about the Sony a6000 is it allows you to download apps directly to your camera. Time Lapse is one of these. I downloaded Sony Play Memories Time Lapse and used this help guide to learn all the features. You can do a video time-lapse, which resembles the one that you can do on your iPhone, or a photo time-lapse, which has better quality and is especially helpful at night.
Time-lapses chronicle the significant change of the Northern Lights over just a short amount of time. I was the proudest of these recordings when showing friends and family, as viewers were able to get a more realistic glimpse of what we experienced ourselves. Click below to view the two time-lapses, and check out the movement of the stars!
Other Tips
Shoot in manual mode. This means that you pick most of the settings yourself, like aperture, shutter speed, and ISO. Another great thing about higher-end cameras is their memory recall capabilities. When I was ready to shoot at night, I’d flip to that memory recall number and then make adjustments accordingly, versus starting from scratch.


The different drive modes on your camera determine when and how many times the shutter releases when the shutter button is being pressed. There is often a “single shooting mode” and “self-timer mode.” You’ll want to use the self-timer mode, as any movement from your camera can cause a blur in the image. If your camera has wifi capabilities, even better, because you can use a remote control or an app on your phone to take the picture. However, if your camera does not have a timer, there are such things as remote timers. It is important that you use a timer to prevent camera shake if at all possible.
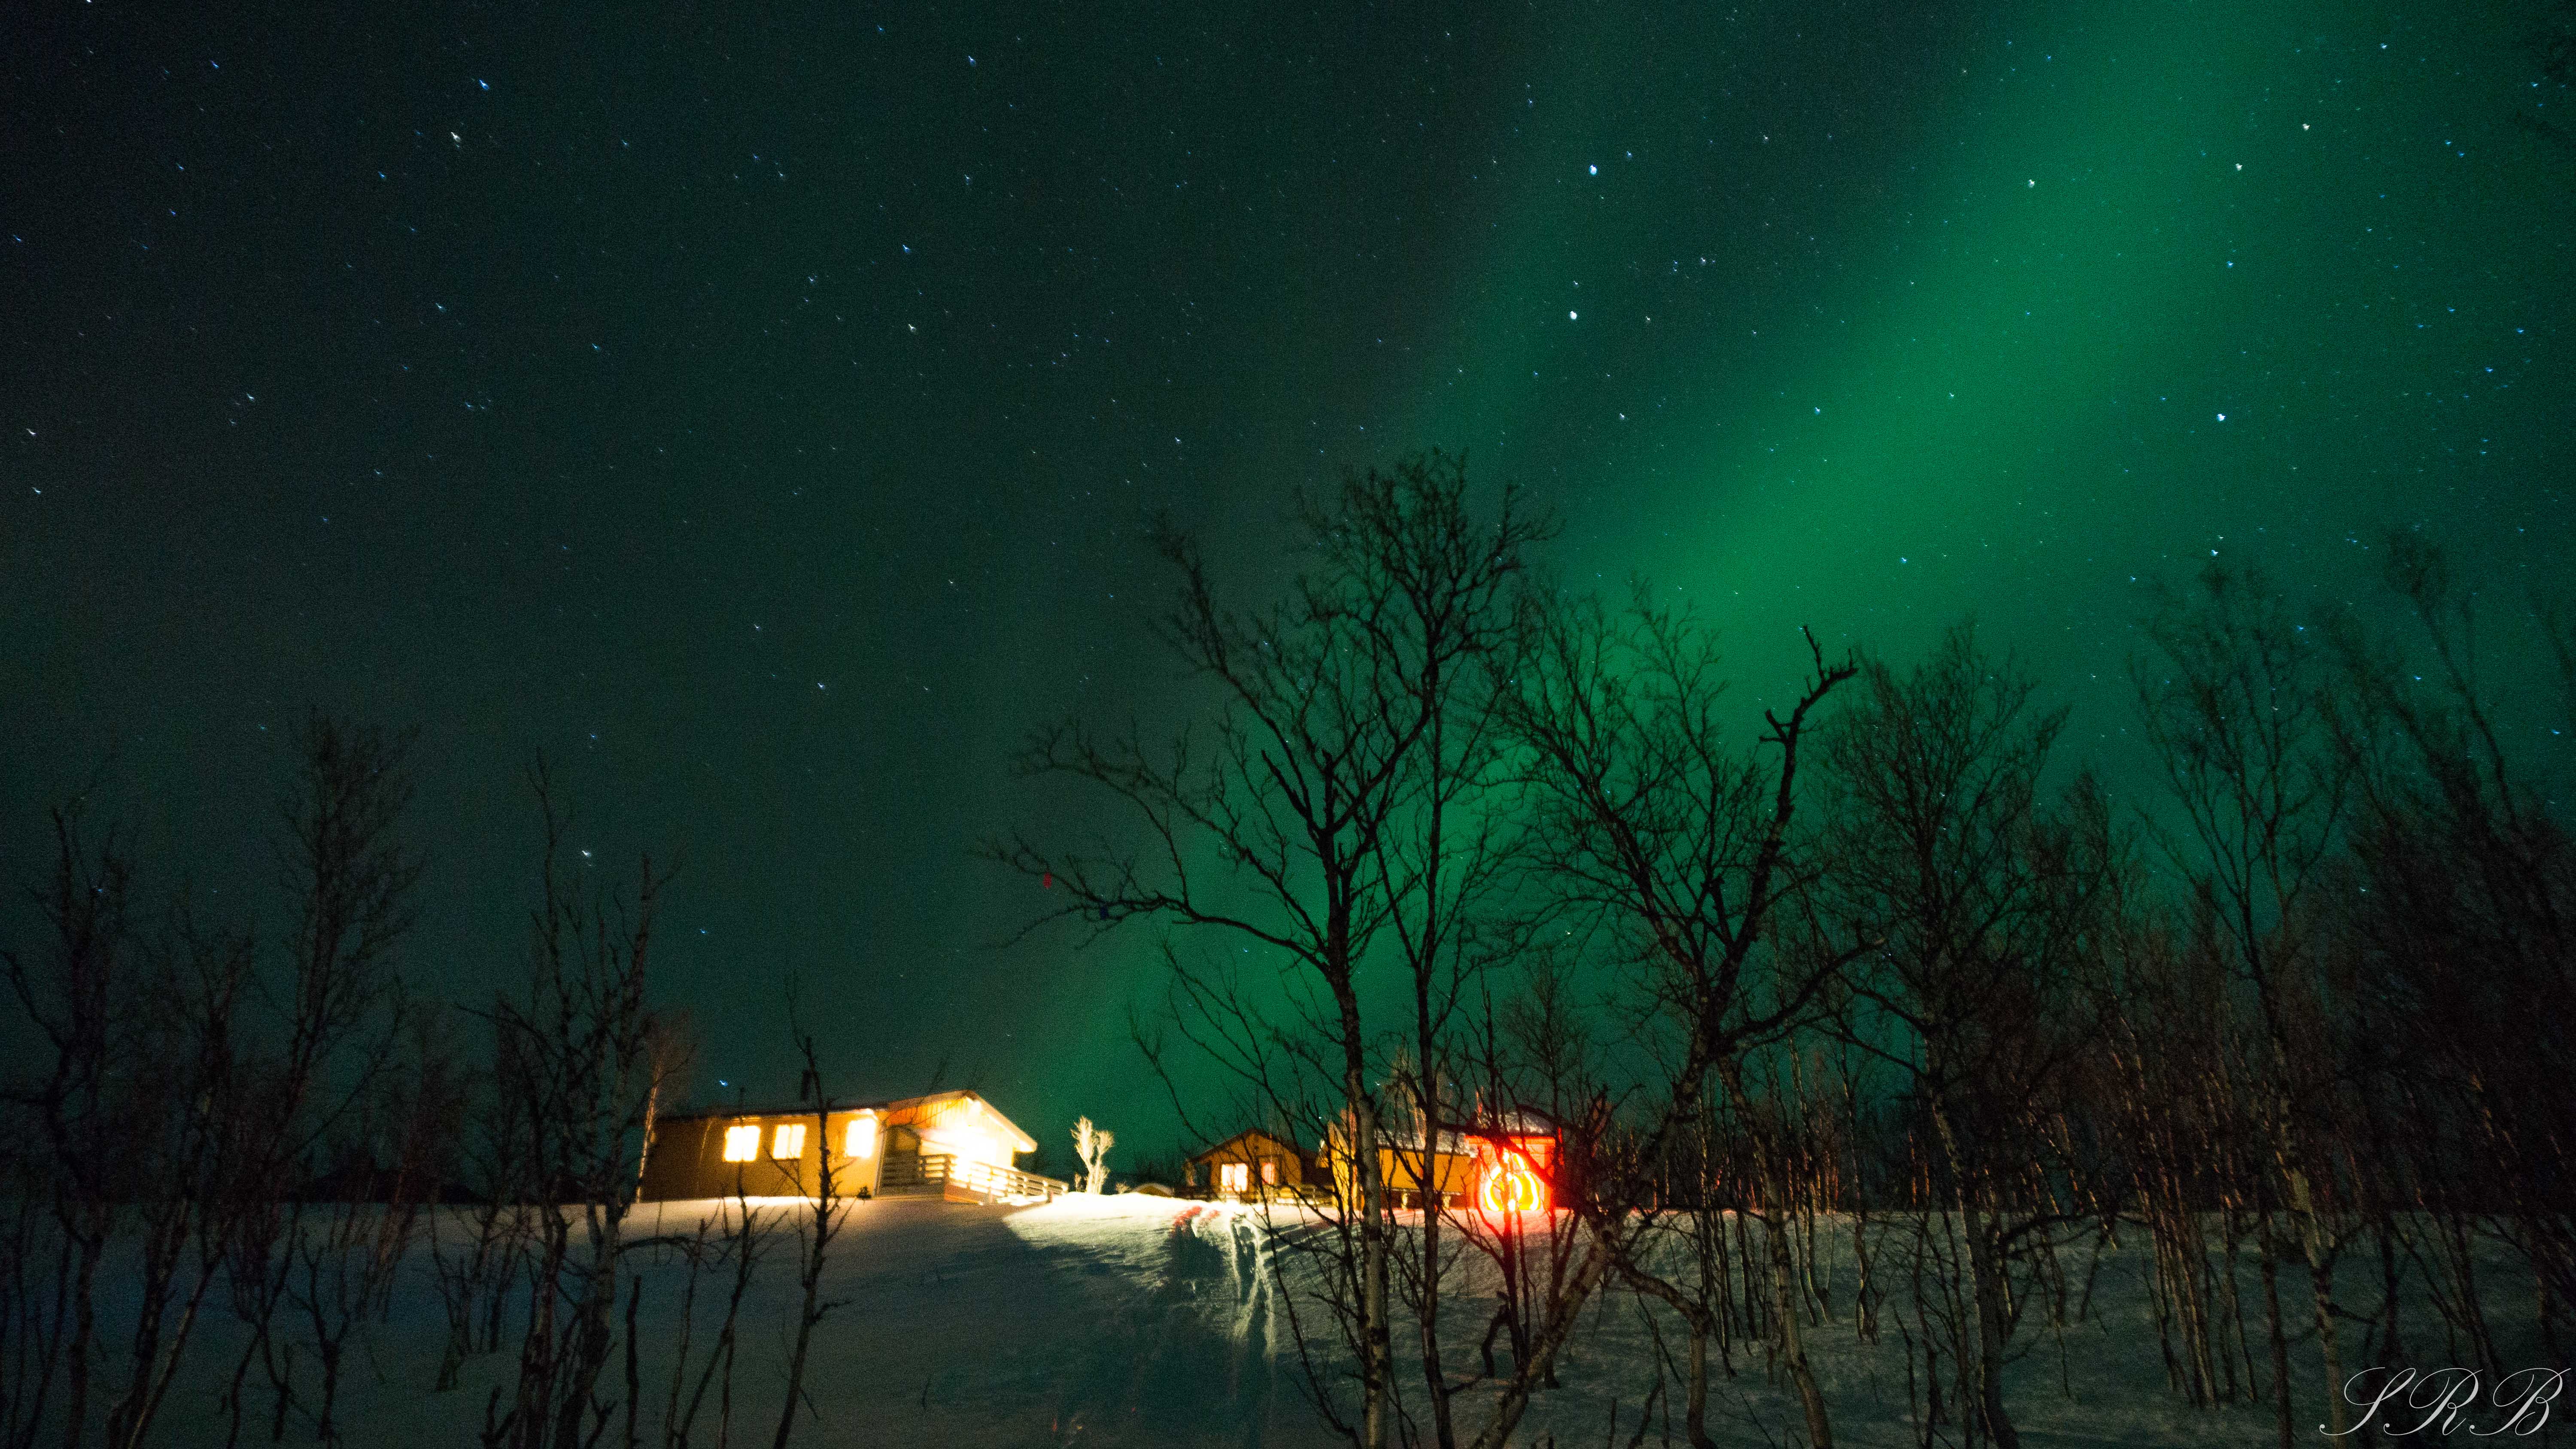
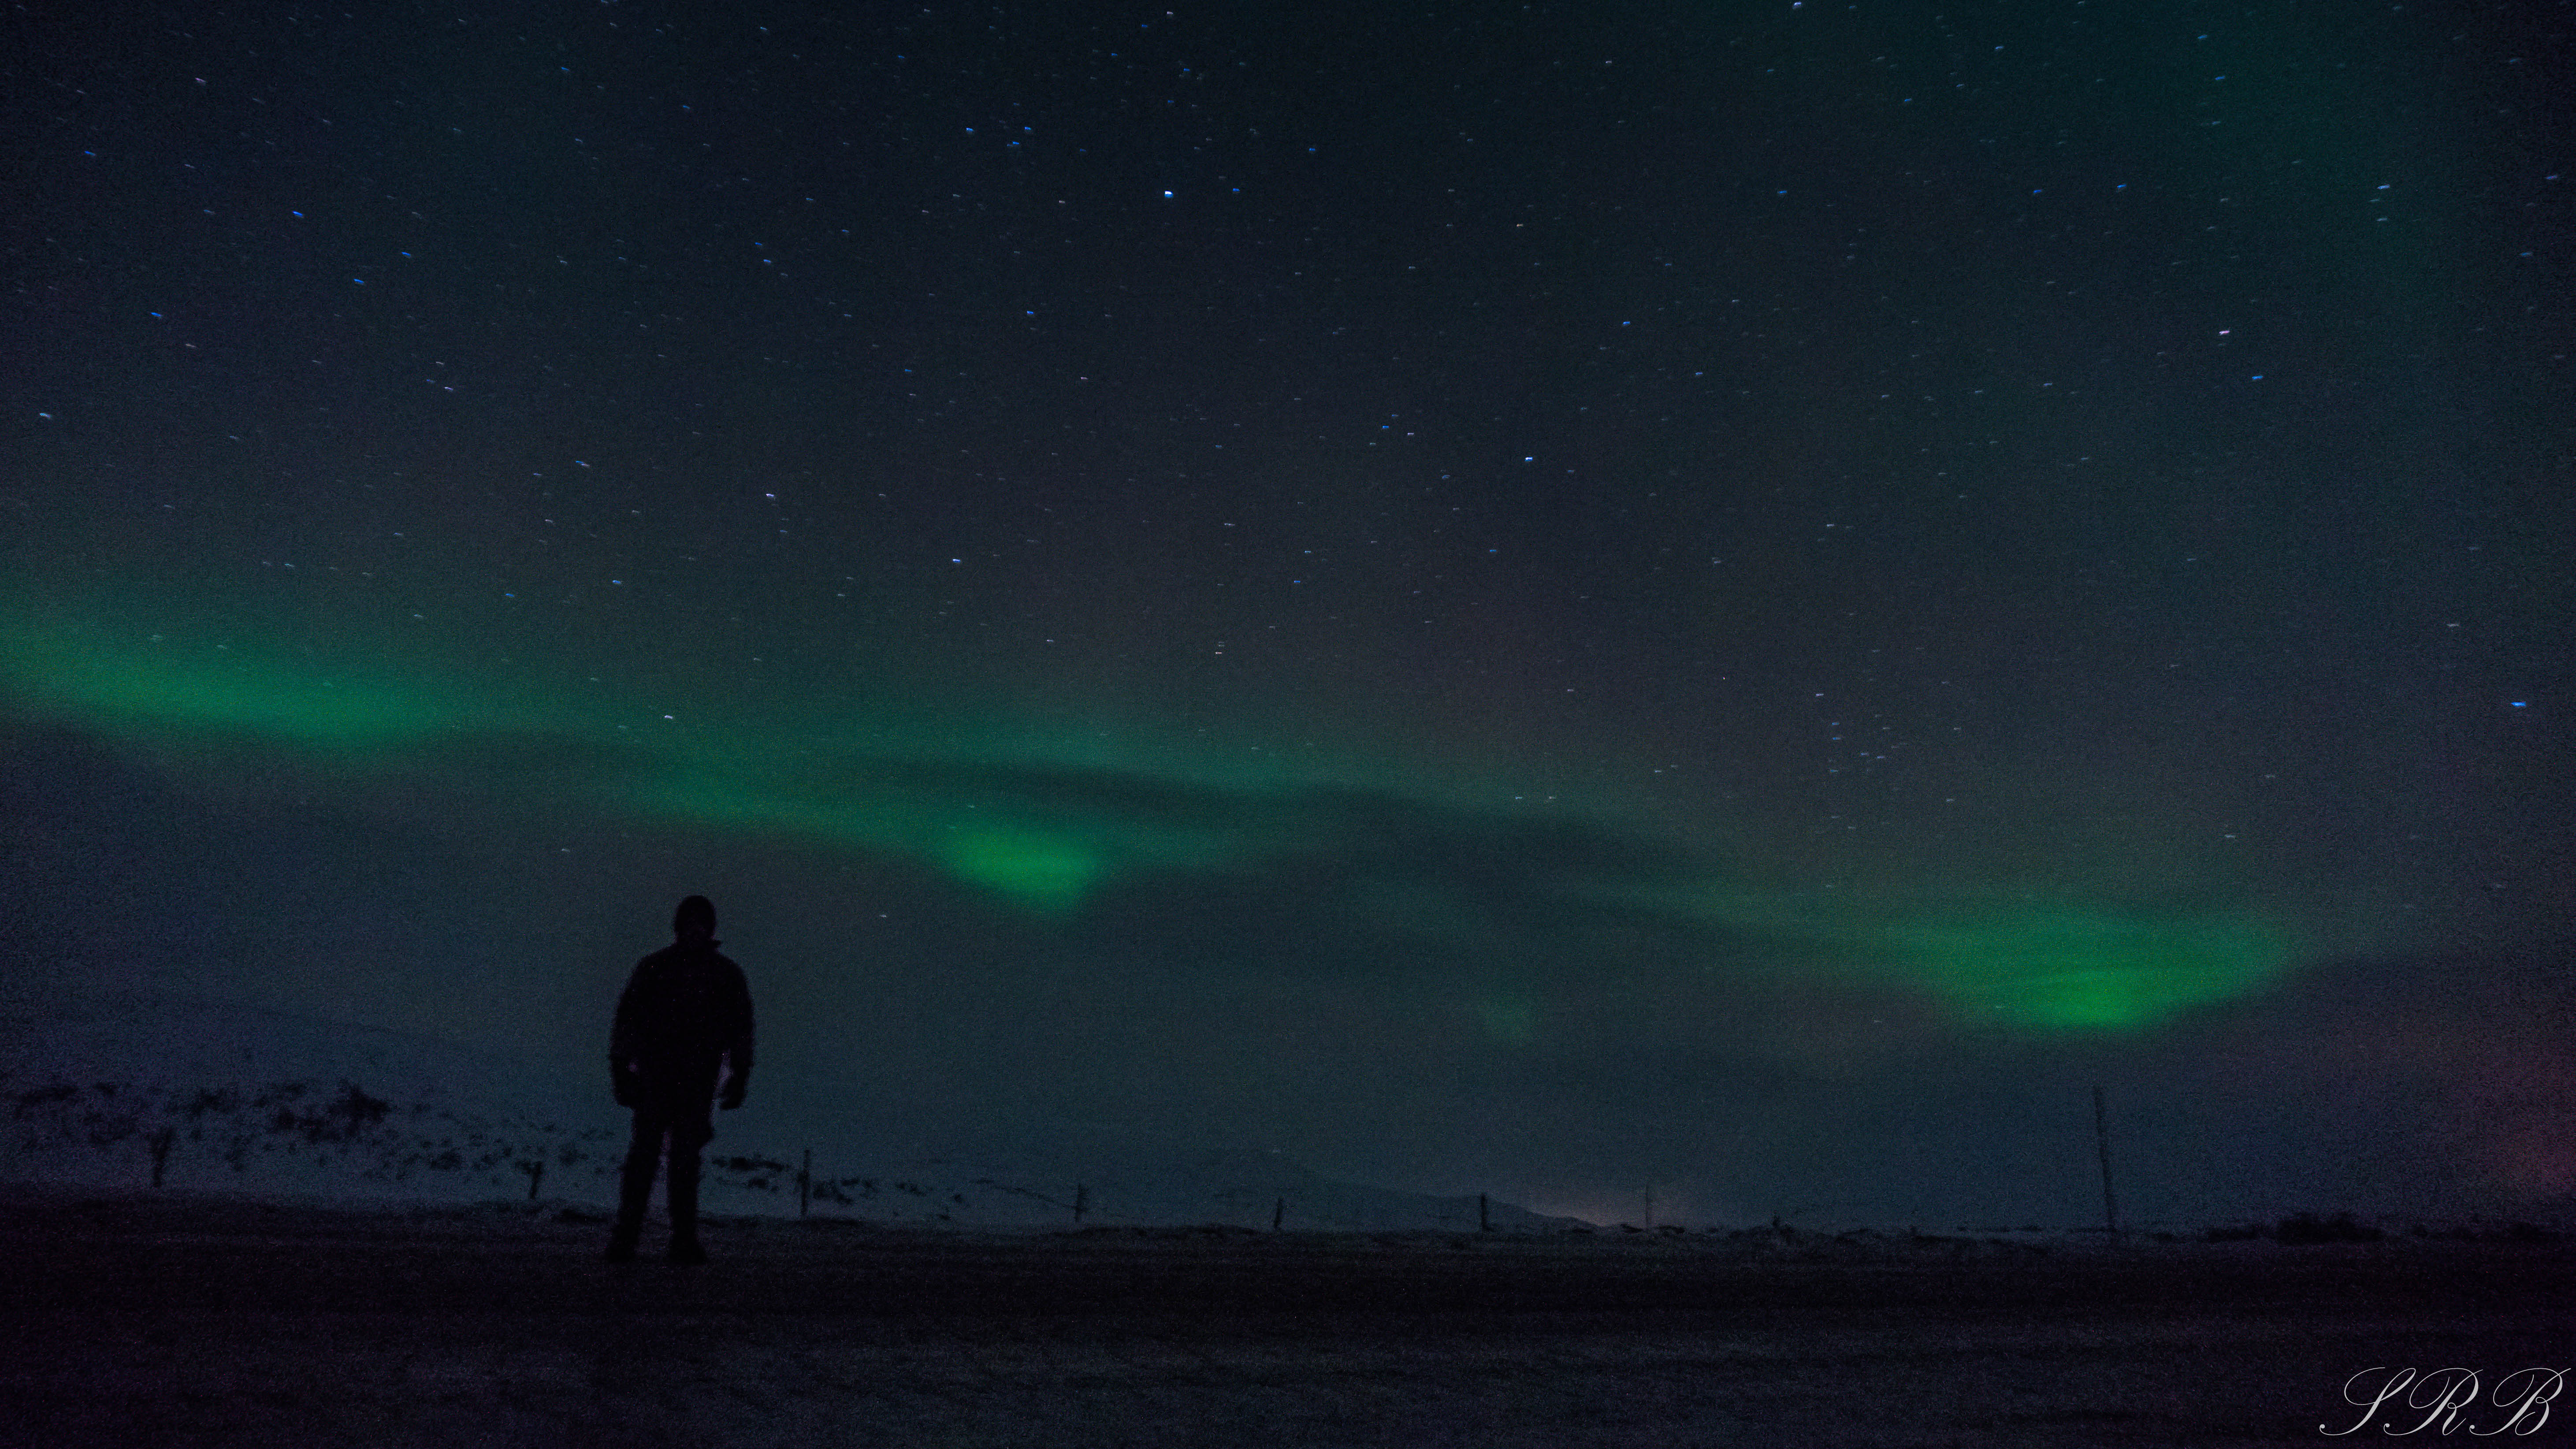
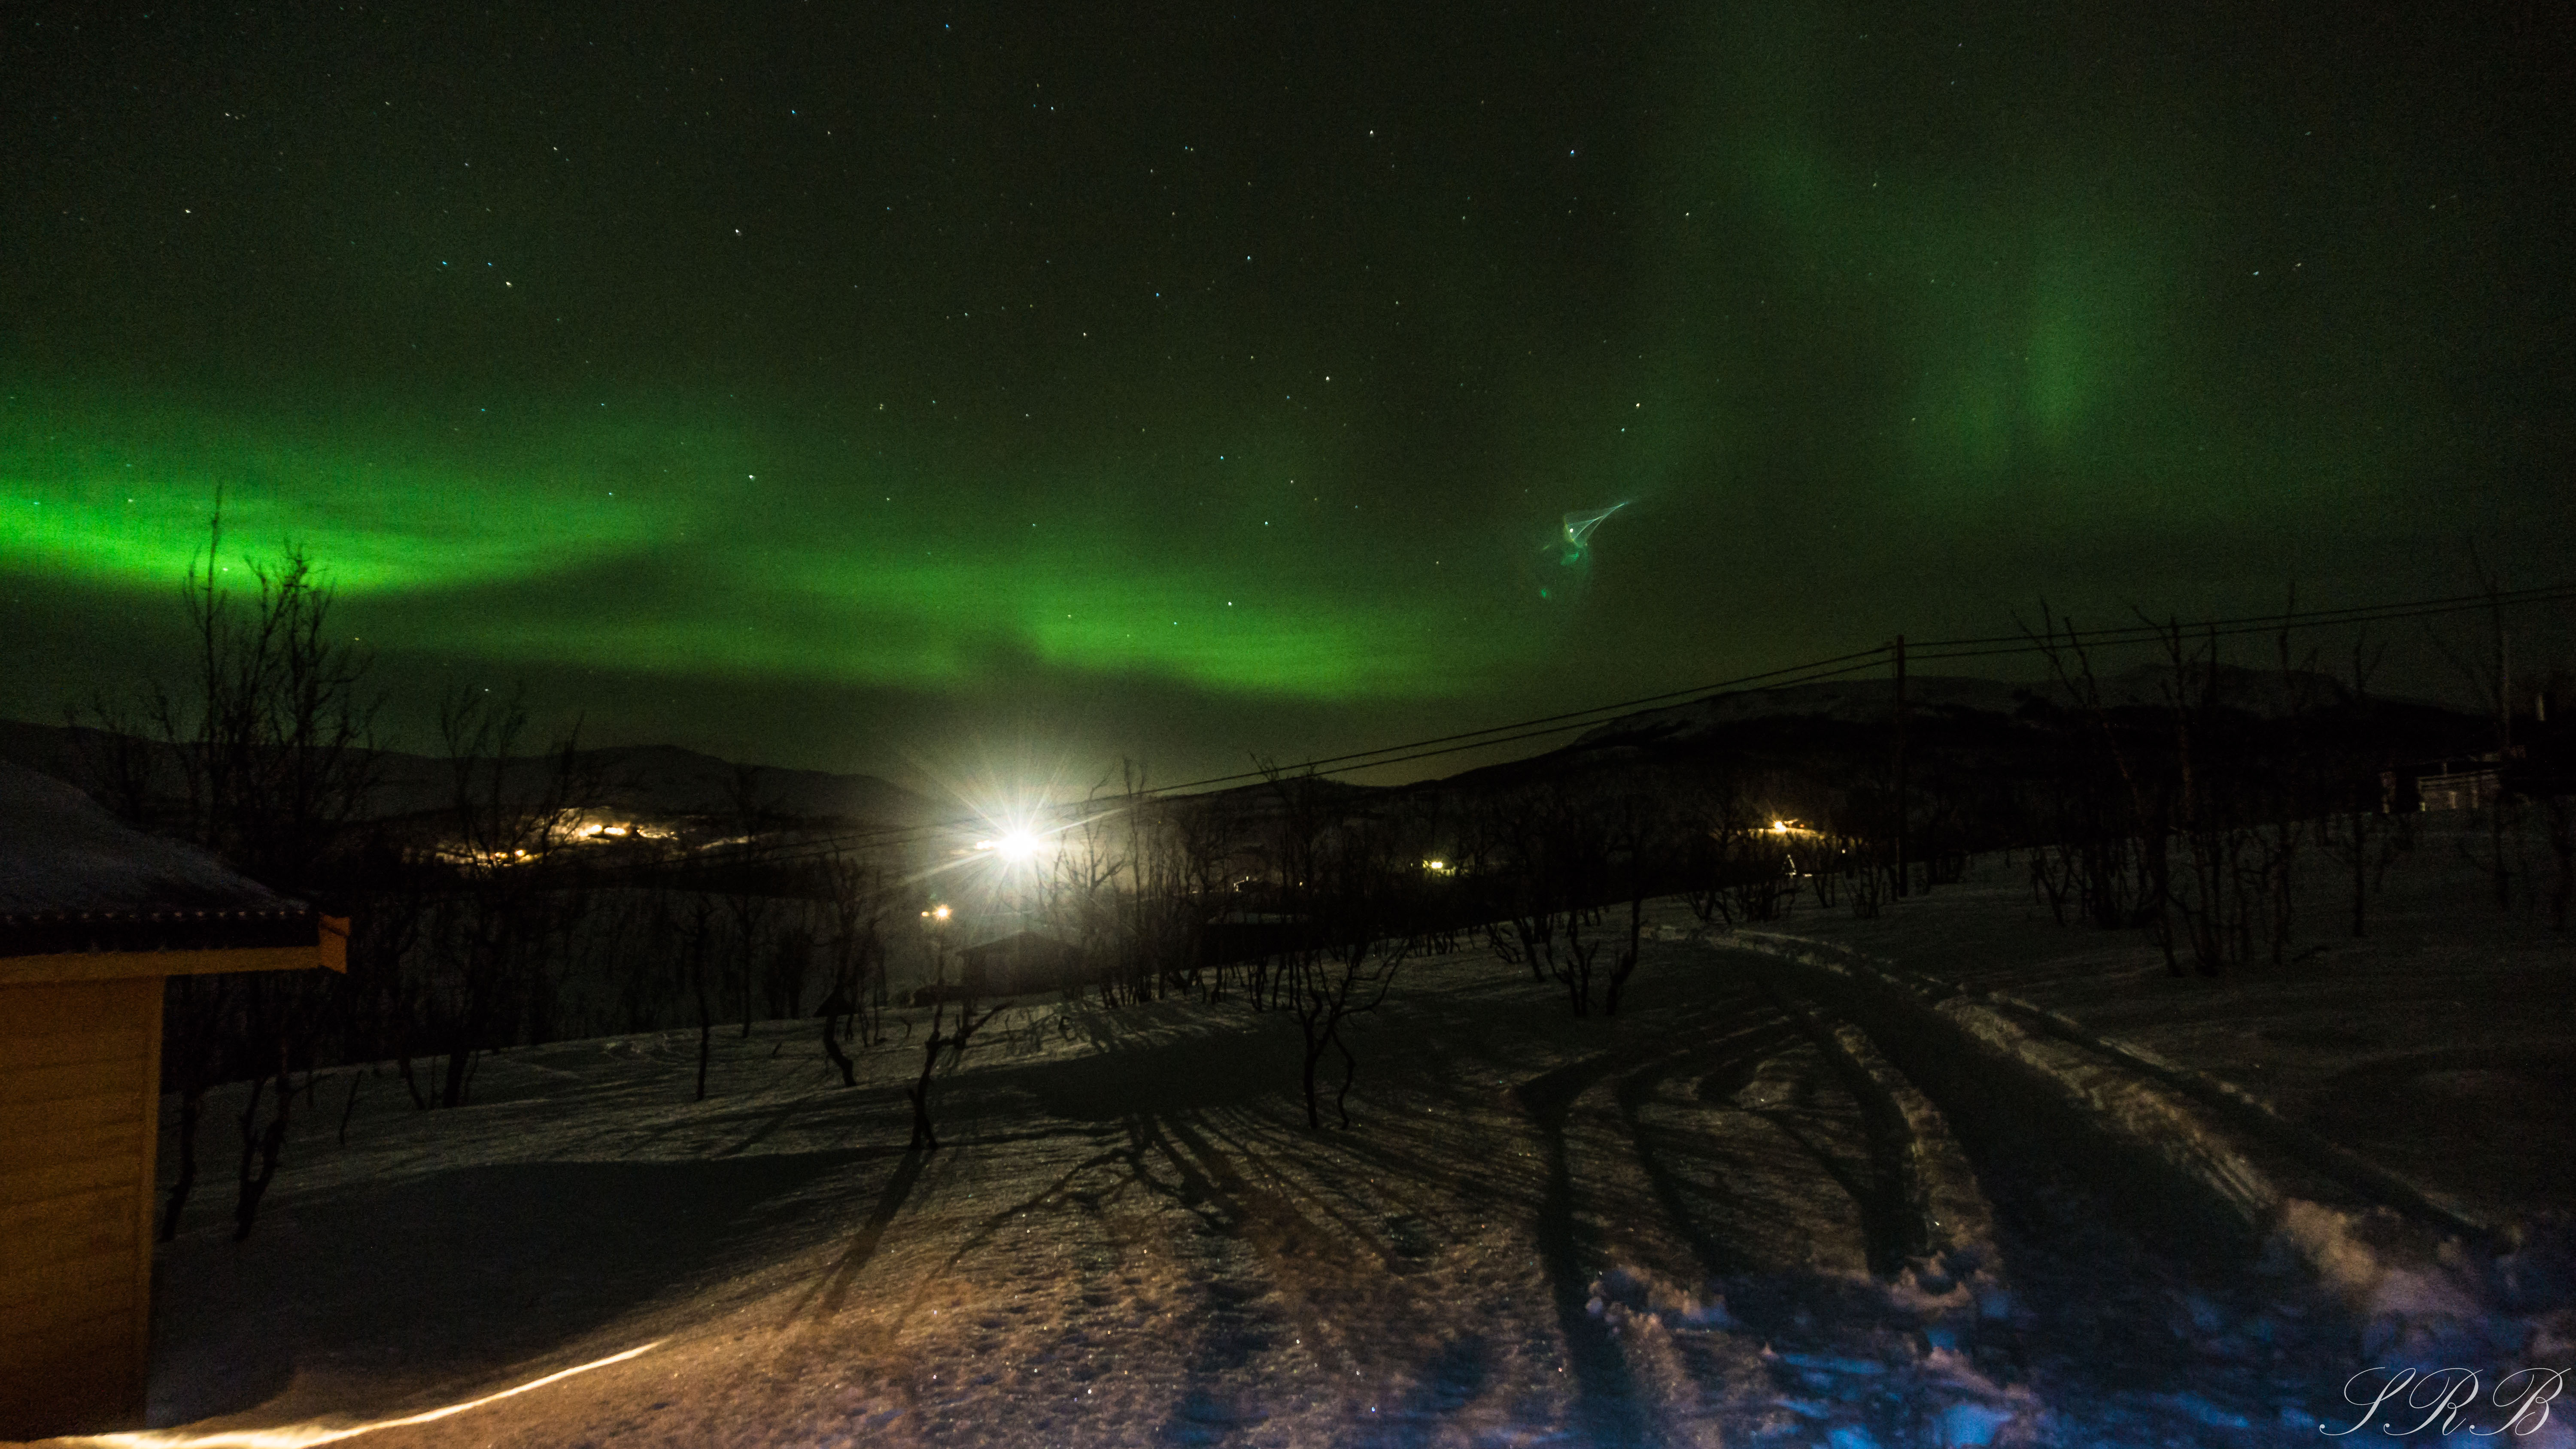
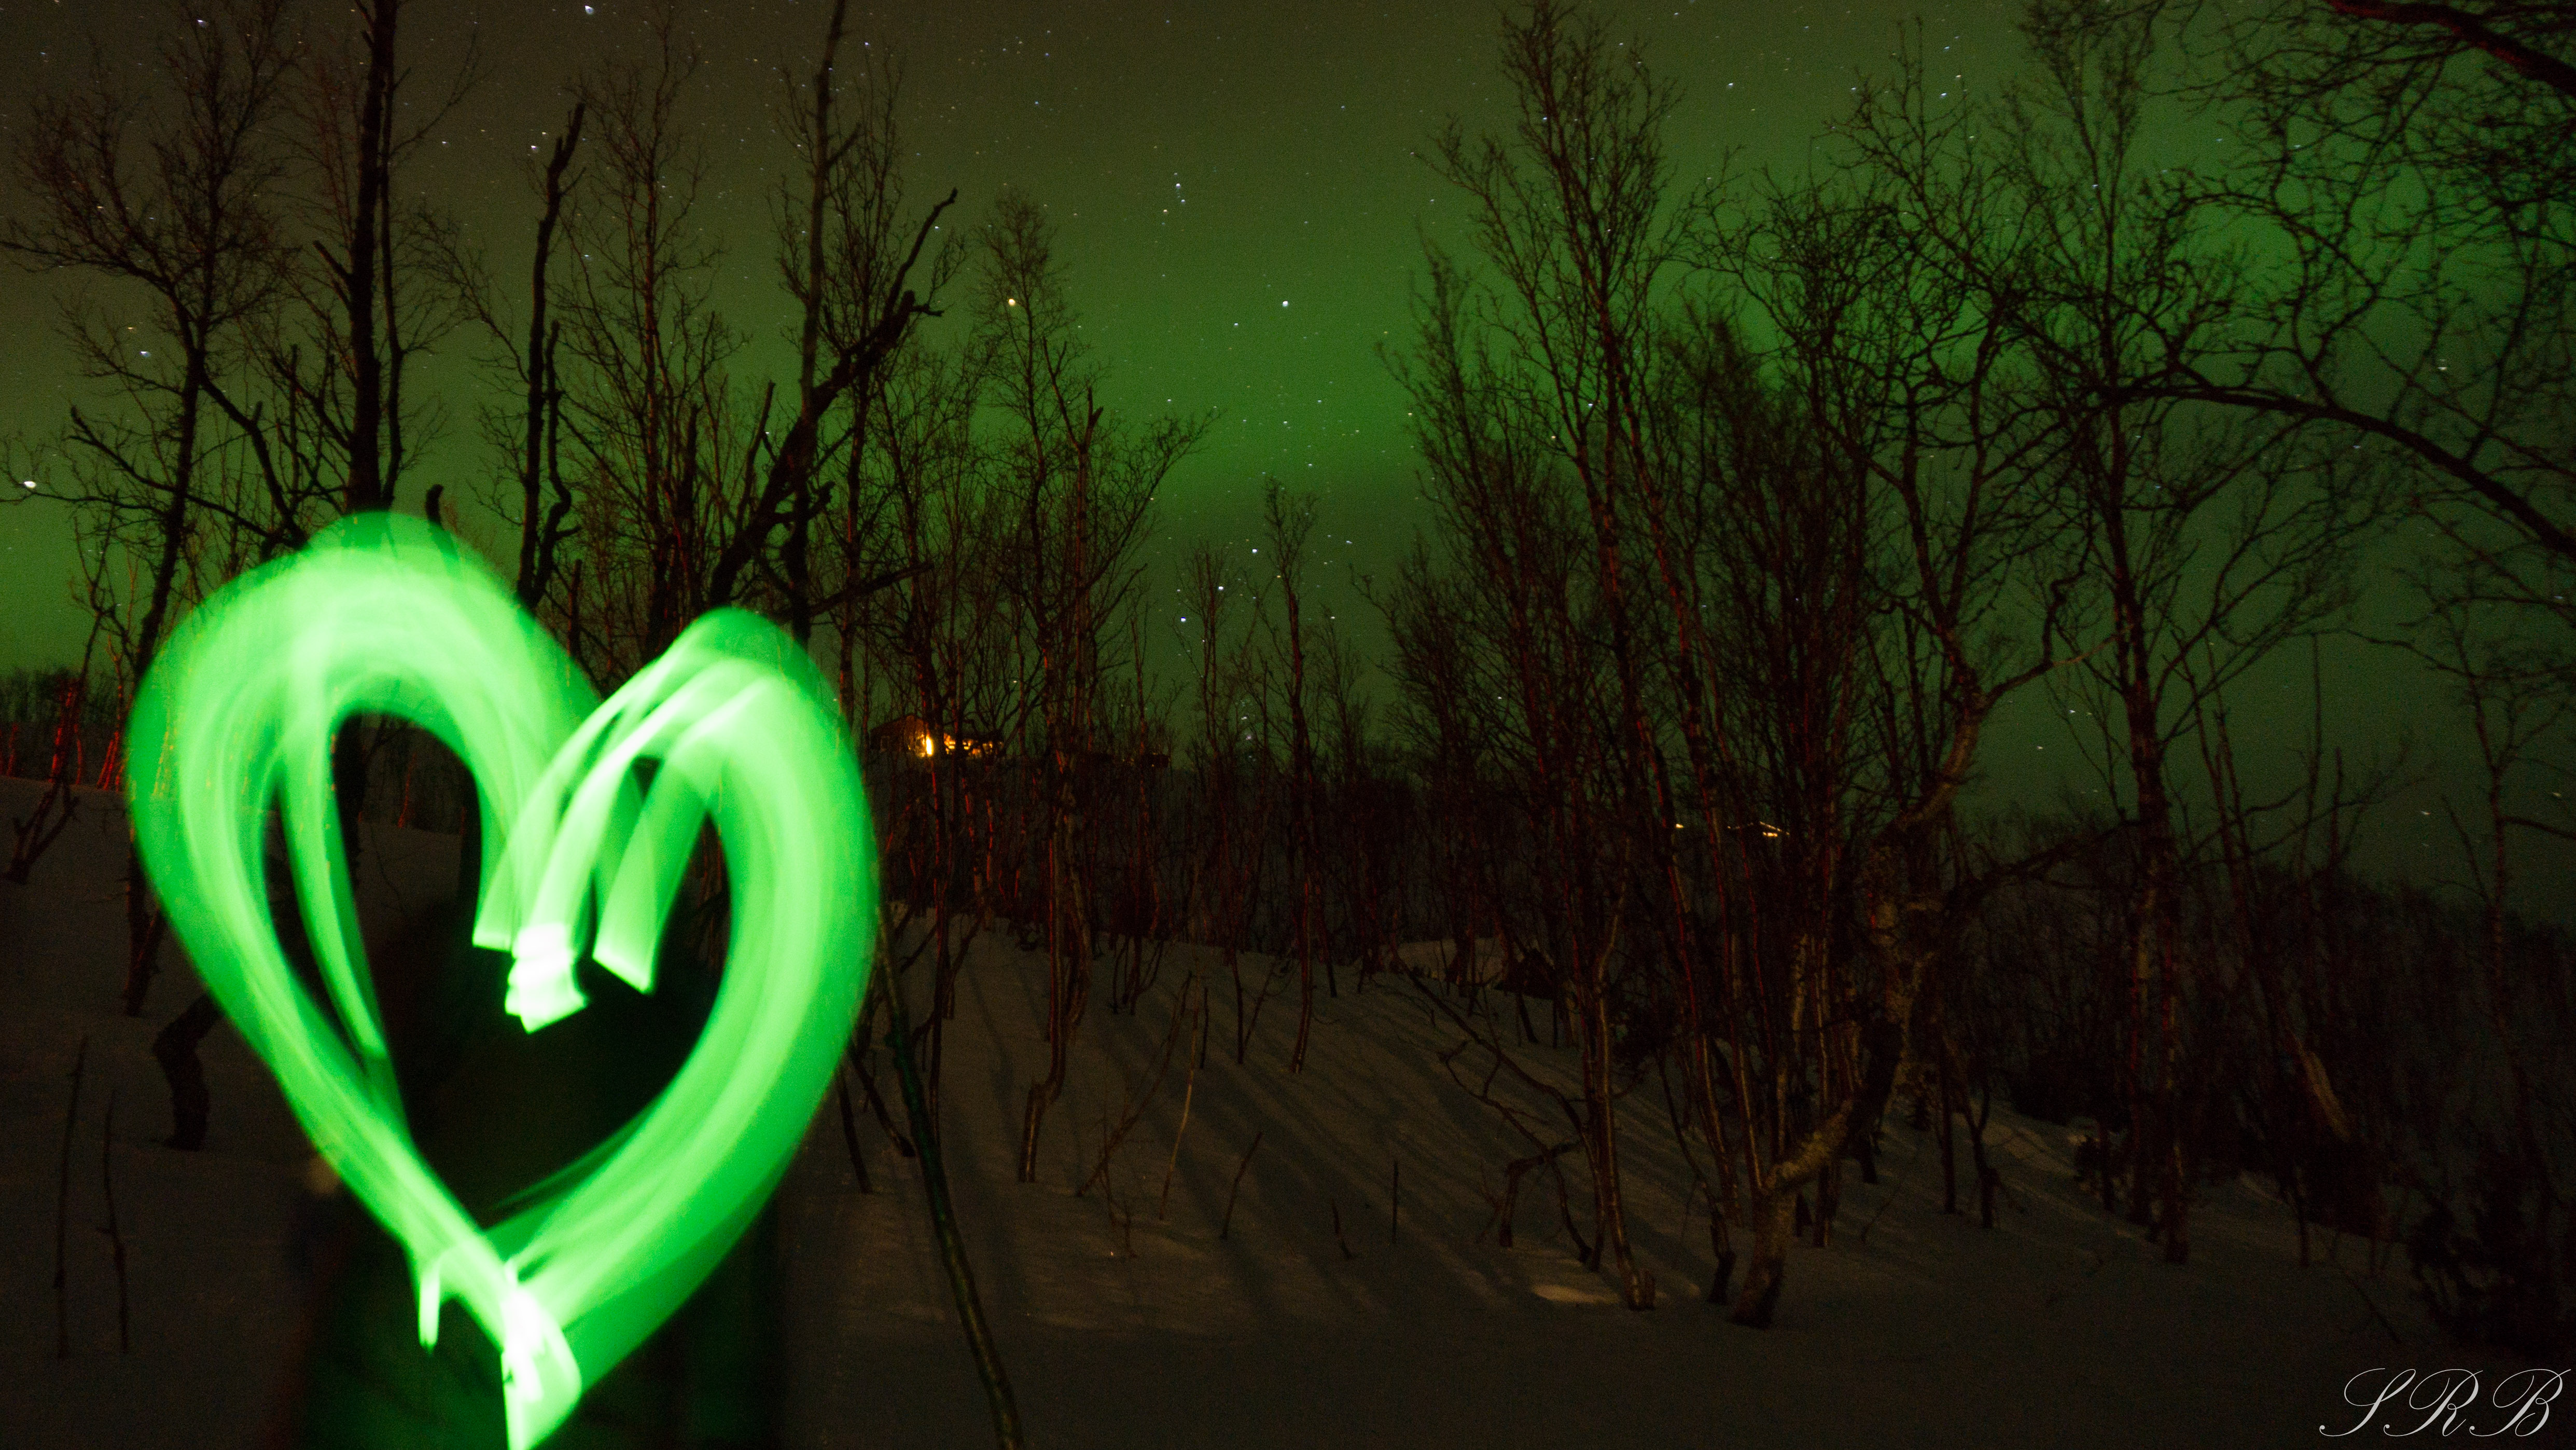
Get a headlamp! My headlamp light was on in all of the best images that I captured. I would shine the light on either a tree in the near distance or the person being photographed. Otherwise, the image tended to be very dark. There were a few instances where snowmobiles miles away ruined the picture because of how bright their front light was (as you can see in the picture below). But, it was fun experimenting with settings and light.
Photographing takes practice, as many things do, and I am still very much a rookie. I kept my notes with me and would refresh my memory about the relationship between aperture, ISO, and shutter speed a few times throughout the trip.
If having memories to last a lifetime is an interest of yours, then I hope this guide will help if you are planning to see — and photograph — the Northern Lights!
Thanks for reading & good luck!
Here are some similar posts you might like:
– Chasing the Northern Lights Through Norway | When to Go, Where to Stay, What to Do
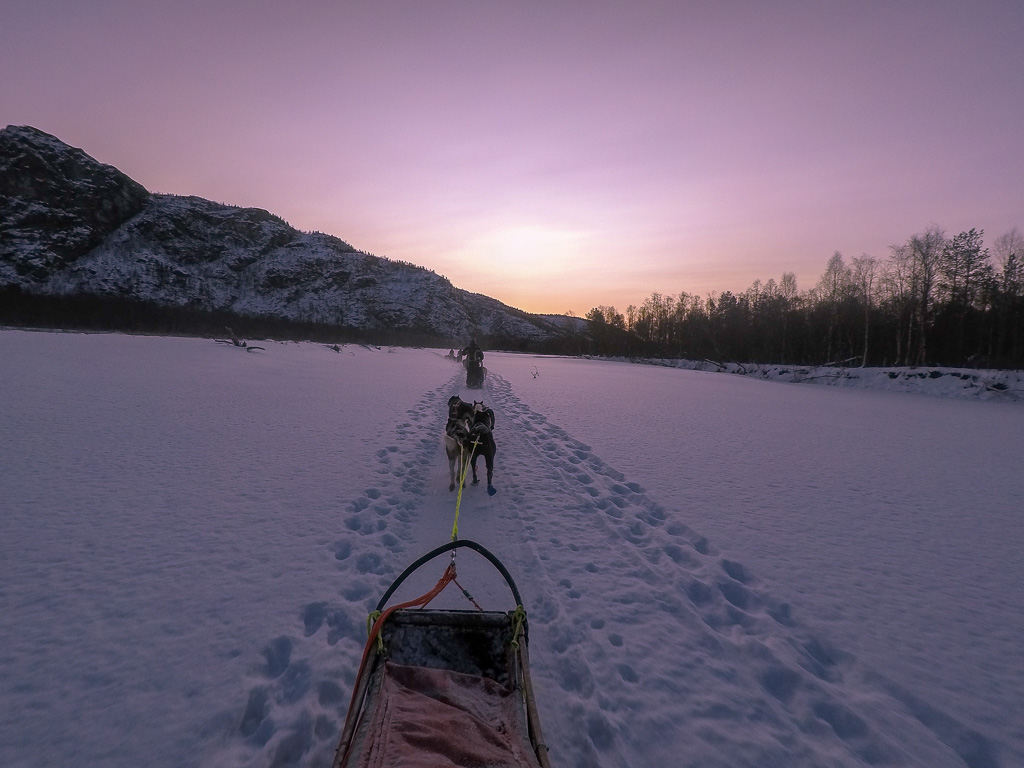
– Dog Sledding in Alta, Norway
– 5 Outdoor Activities You Should Try This Winter

[amazon_link asins=’B00I8BICB2′ template=’ProductAd’ store=’outsidethis06-20′ marketplace=’US’ link_id=’ebe52666-0cd9-11e8-957f-63056b60d79d’]
[amazon_link asins=’B002FBDD6K’ template=’ProductAd’ store=’outsidethis06-20′ marketplace=’US’ link_id=’05df1627-0cda-11e8-9a63-272ea69ce6c3′]

2 Comments
Pingback:
Patricia
Hello, great post and beautiful pictures! I am about to take my Sony a6000 to Iceland and hope to be lucky enough to experience the Northern Lights. I have been reading a lot regarding the best settings and was wondering what you did for the focus. I’m seeing a lot of people setting this to infinity. What did you set your focus to?